Further adventures in minimalism with Alpine Linux
By Mark Dixon
Intro
Getting smaller! Using Alpine for a minimal Linux VM.
My first note for this site was an investigation into how small you can get an Arch Linux VM - the answer was… not very. My final Arch image weighed in at 850MB. Can we do better? Yes we can! Using an Alpine distro you can get a functional Linux VM down to 50MB.
Why is this useful? At 50MB we are now in the realm of something trivial to distribute. Bandwidth costs, and a factor 17 in size can make a big difference. Using Alpine we can now, for example, build simple webservers for running CTF challenges.
TLDR: Alpine is way better than Arch if you want to just run a few services and don’t need the overhead of a full distro.
Installing QEMU
As with the previous note, lets use QEMU. To install it, lets recap:
MacOS
QEMU is easily installed with Homebrew (follow that link first if you don’t have it installed).
brew install qemu Grab a ☕.
Not MacOS
Your mileage may vary - but QEMU shouldn’t be that hard to get your hands on.
Ubuntu
sudo apt-get install qemu qemu-utilsBootstrapping QEMU
Step 1: virtual disk image
As with the Arch Linux attempt, we need a sparse image disk. QEMU’s built-in tool will do that for you:
qemu-img create -f qcow2 vdisk1 2G2GB is smaller than the Arch attempt, and probably still a bit bigger than we need - but since it is a sparse image, the file should never get that big.
qcow2 is QEMUs own file format for disk images with support for sparse imaging: aligning nicely with our goal.
Now you should have a single file vdisk1 that is roughly 200KB.
Step 2: download the Alpine ISO installer
Alpine is nice enough to provide a number of downloads for various needs. The one we will go for is the Virtual optimized image available at https://www.alpinelinux.org/downloads/. Grab the (currently) latest image with:
curl --fail --remote-name --location --continue-at - \
     https://dl-cdn.alpinelinux.org/alpine/v3.18/releases/x86_64/alpine-virt-3.18.0-x86_64.iso
But don’t forget to check the Alpine downloads page for the latest x8664 virtual optimized image. This should weigh in at roughly 55MB.
Installing Alpine
Now we can run QEMU with our newly created sparse disk image and the ISO image we downloaded.
Booting the installer ISO
Note: taking the lazy approach to networking (-netdev vmnet-shared) means having to run QEMU as root, allowing QEMU to automatically set up bridging for you.
sudo qemu-system-x86_64  -m 2048 \
     -hda ./vdisk1 -cdrom ./alpine-virt-3.18.0-x86_64.iso  \
     -device virtio-net-pci,netdev=net0 \
     -netdev vmnet-shared,id=net0 \
     -name Alpine -device virtio-rng-pci -boot menu=on
If you don’t feel comfortable running your VM as root (on MacOS) then it looks like you might be out of luck for now: the Alpine installer will want a network connection.
After a couple of minutes you should have a root prompt:
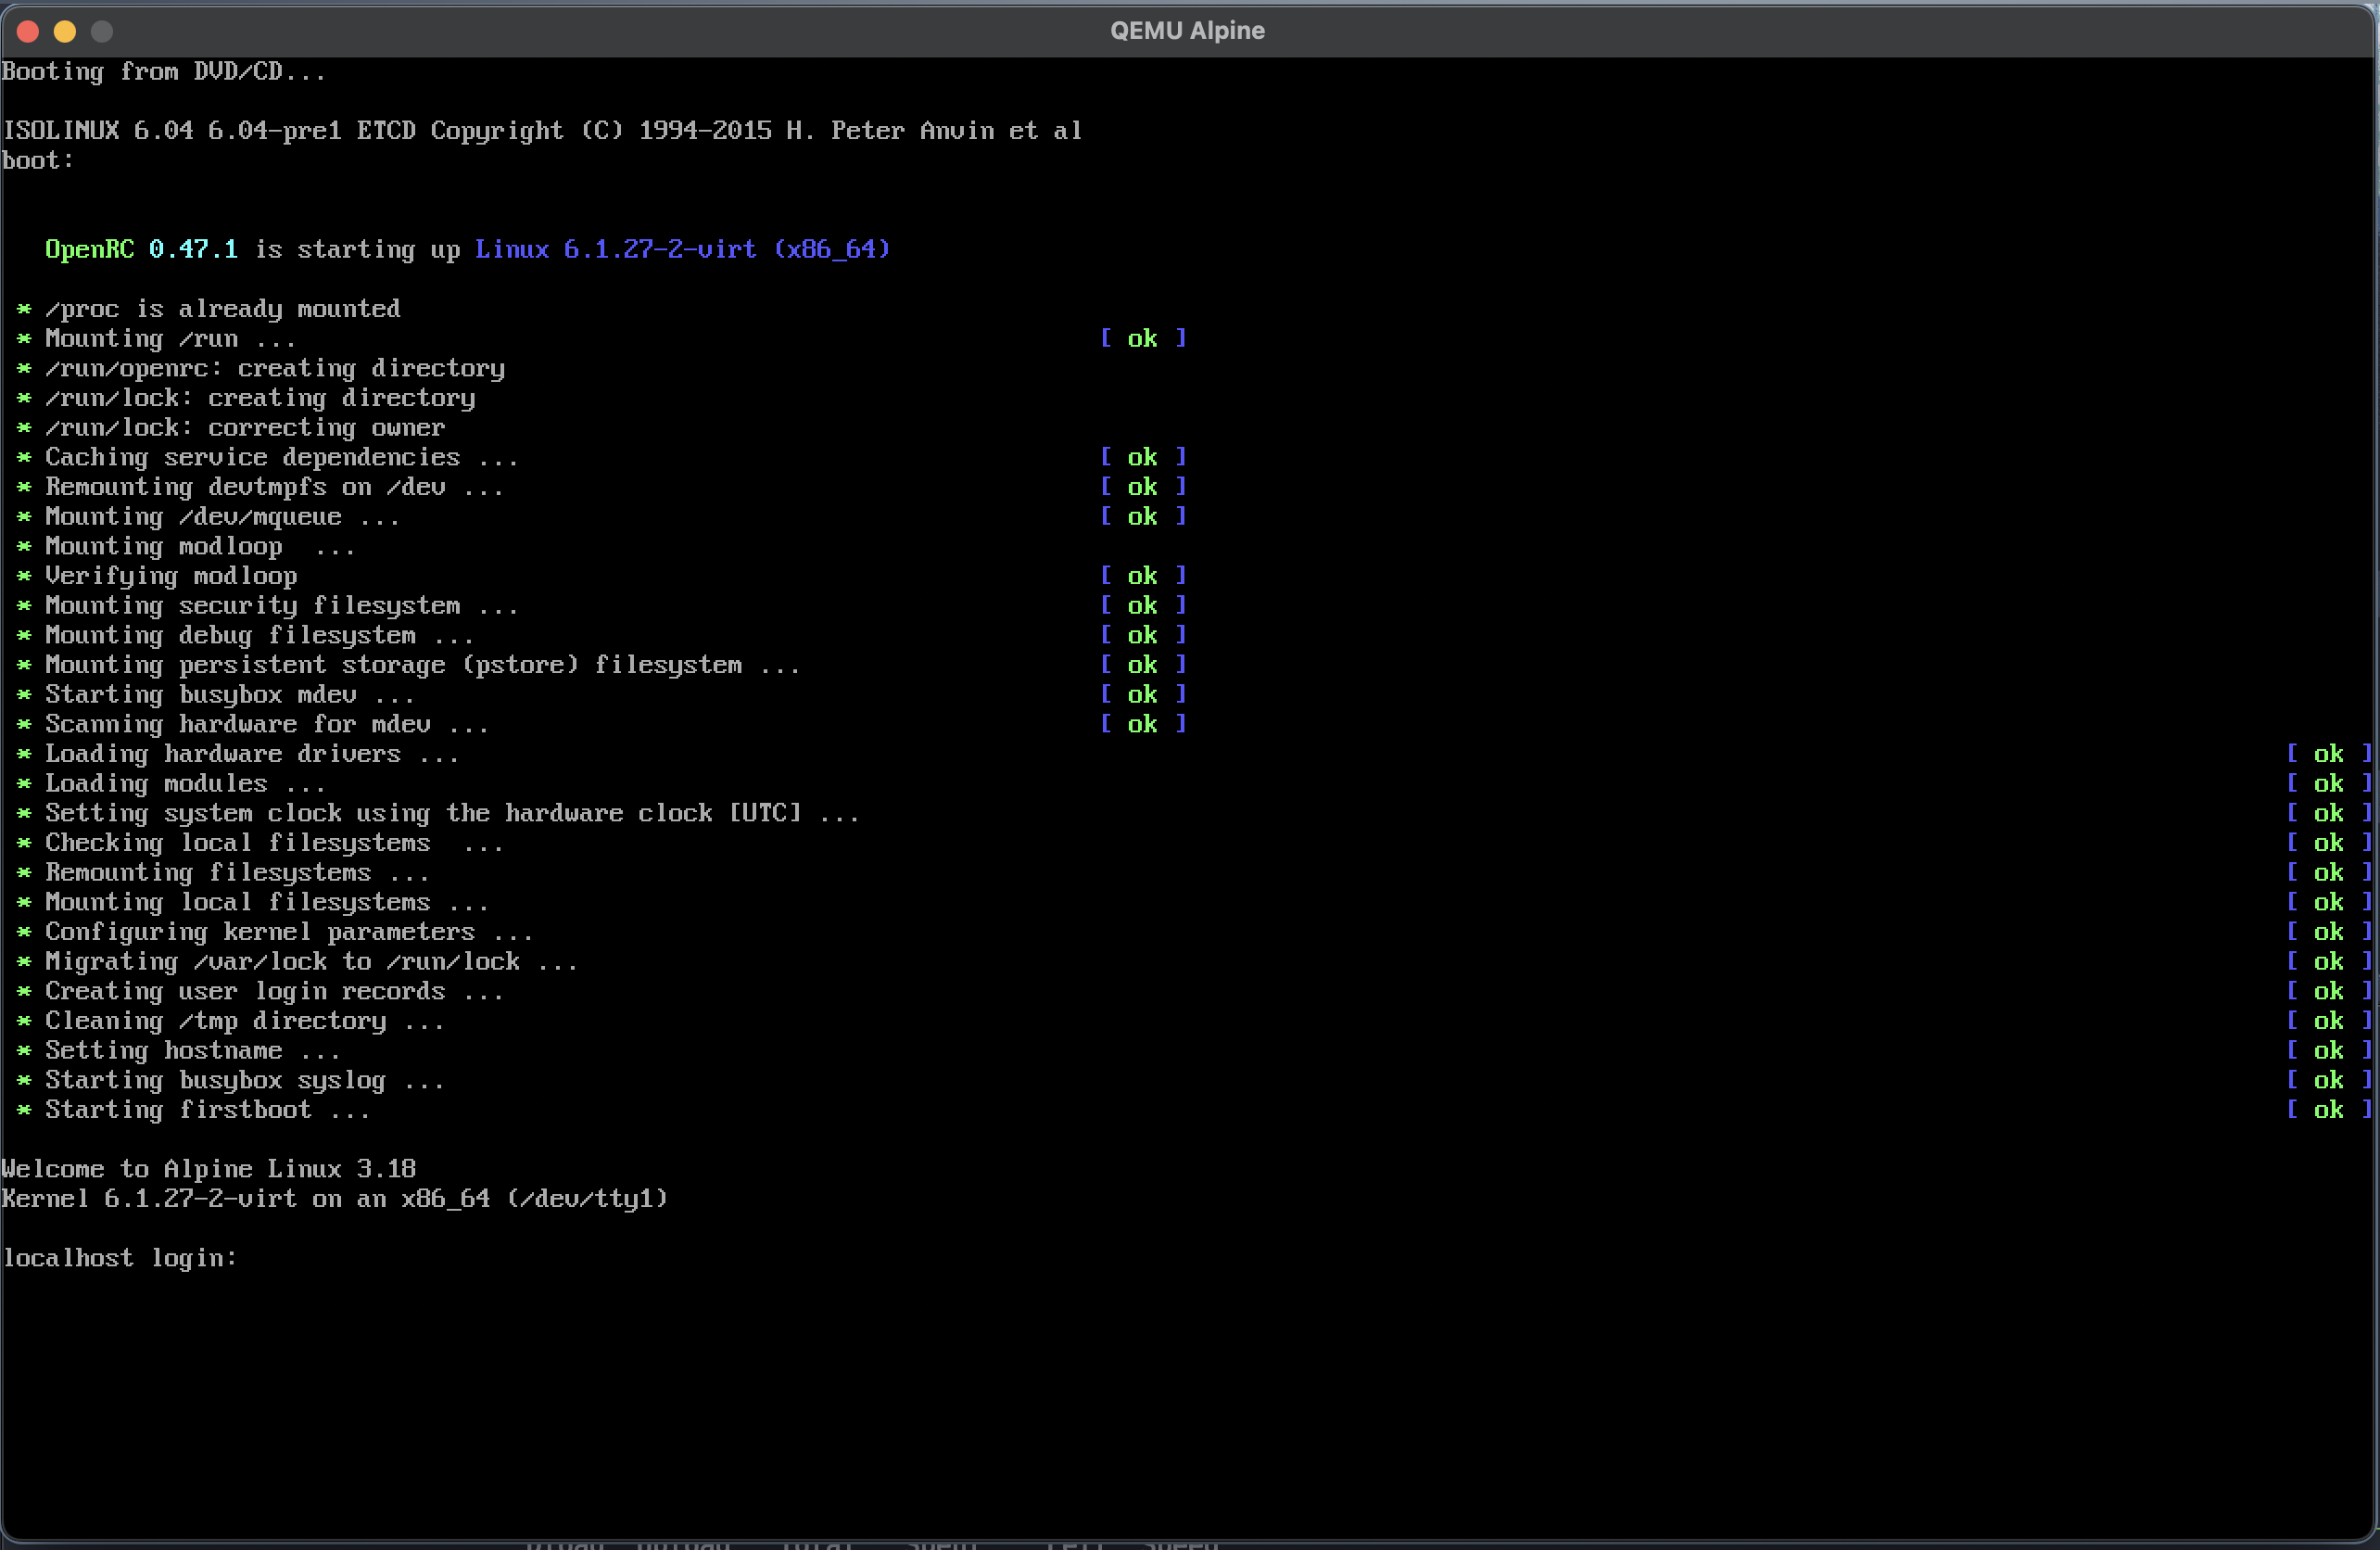
Now you can log in as root - no password.
Automated Setup
Alpine is a little more service-minded than Arch - it comes with the handy setup-alpine script to get you up and running with a minimal of fuss. Since we are using a VM with no need for odd drivers then this should be our smoothest route.
Don’t run the insaller in quick mode, as this won’t touch your shiny new disk image. Instead run it in standard mode:
setup-alpineWhich will kick things off by giving you a limited set of keyboard mappings to pick from. If you are like me and are using a MacBook with a non-standard keyboard then this might not be a perfect fit. Either stick to a default US layout (you may need to Google a few keys) or pick your best match (in my case se and then se-mac).

Running setup-alpine in “slower” mode (as above) will prompt you to answer a number of questions. The default options will work fine for the most part:
- Hostname: default
alpine - Network interface: default
eth0 - IP address: default
dhcp - Manual network configuration: default
no - Root password: default
1234<- just kidding - Timezone: I went with
Europe/Stockholm - Proxy: default
none - NTP client: default
chrony - Available mirror: pick your closest - for me
18(ftp.acc.umu.se) was fine - Set up a user: default
nounless you know you will need one - SSH server: default
openssh - Allow root SSH login: what the heck,
yes - SSH key: default
none - Which disk:
sda - Partition type:
sysunless you need encryption for some reason, and in that casecryptsys
Pretty smooth process - I’d still highly recommend doing an Arch install first just to see what is going on under the hood. But in terms of time spent to get a bootable image, this is hard to beat! Now you should see:

Shutdown your live image with:
poweroffAnd finally re-launch QEMU without the live installer image as a CD-ROM:
sudo qemu-system-x86_64  -m 2048 \
                -hda ./vdisk1 \
                -device virtio-net-pci,netdev=net0 \
                -netdev vmnet-shared,id=net0 \
                -name Alpine -device virtio-rng-pci -boot menu=on
Getting you to your working VM:
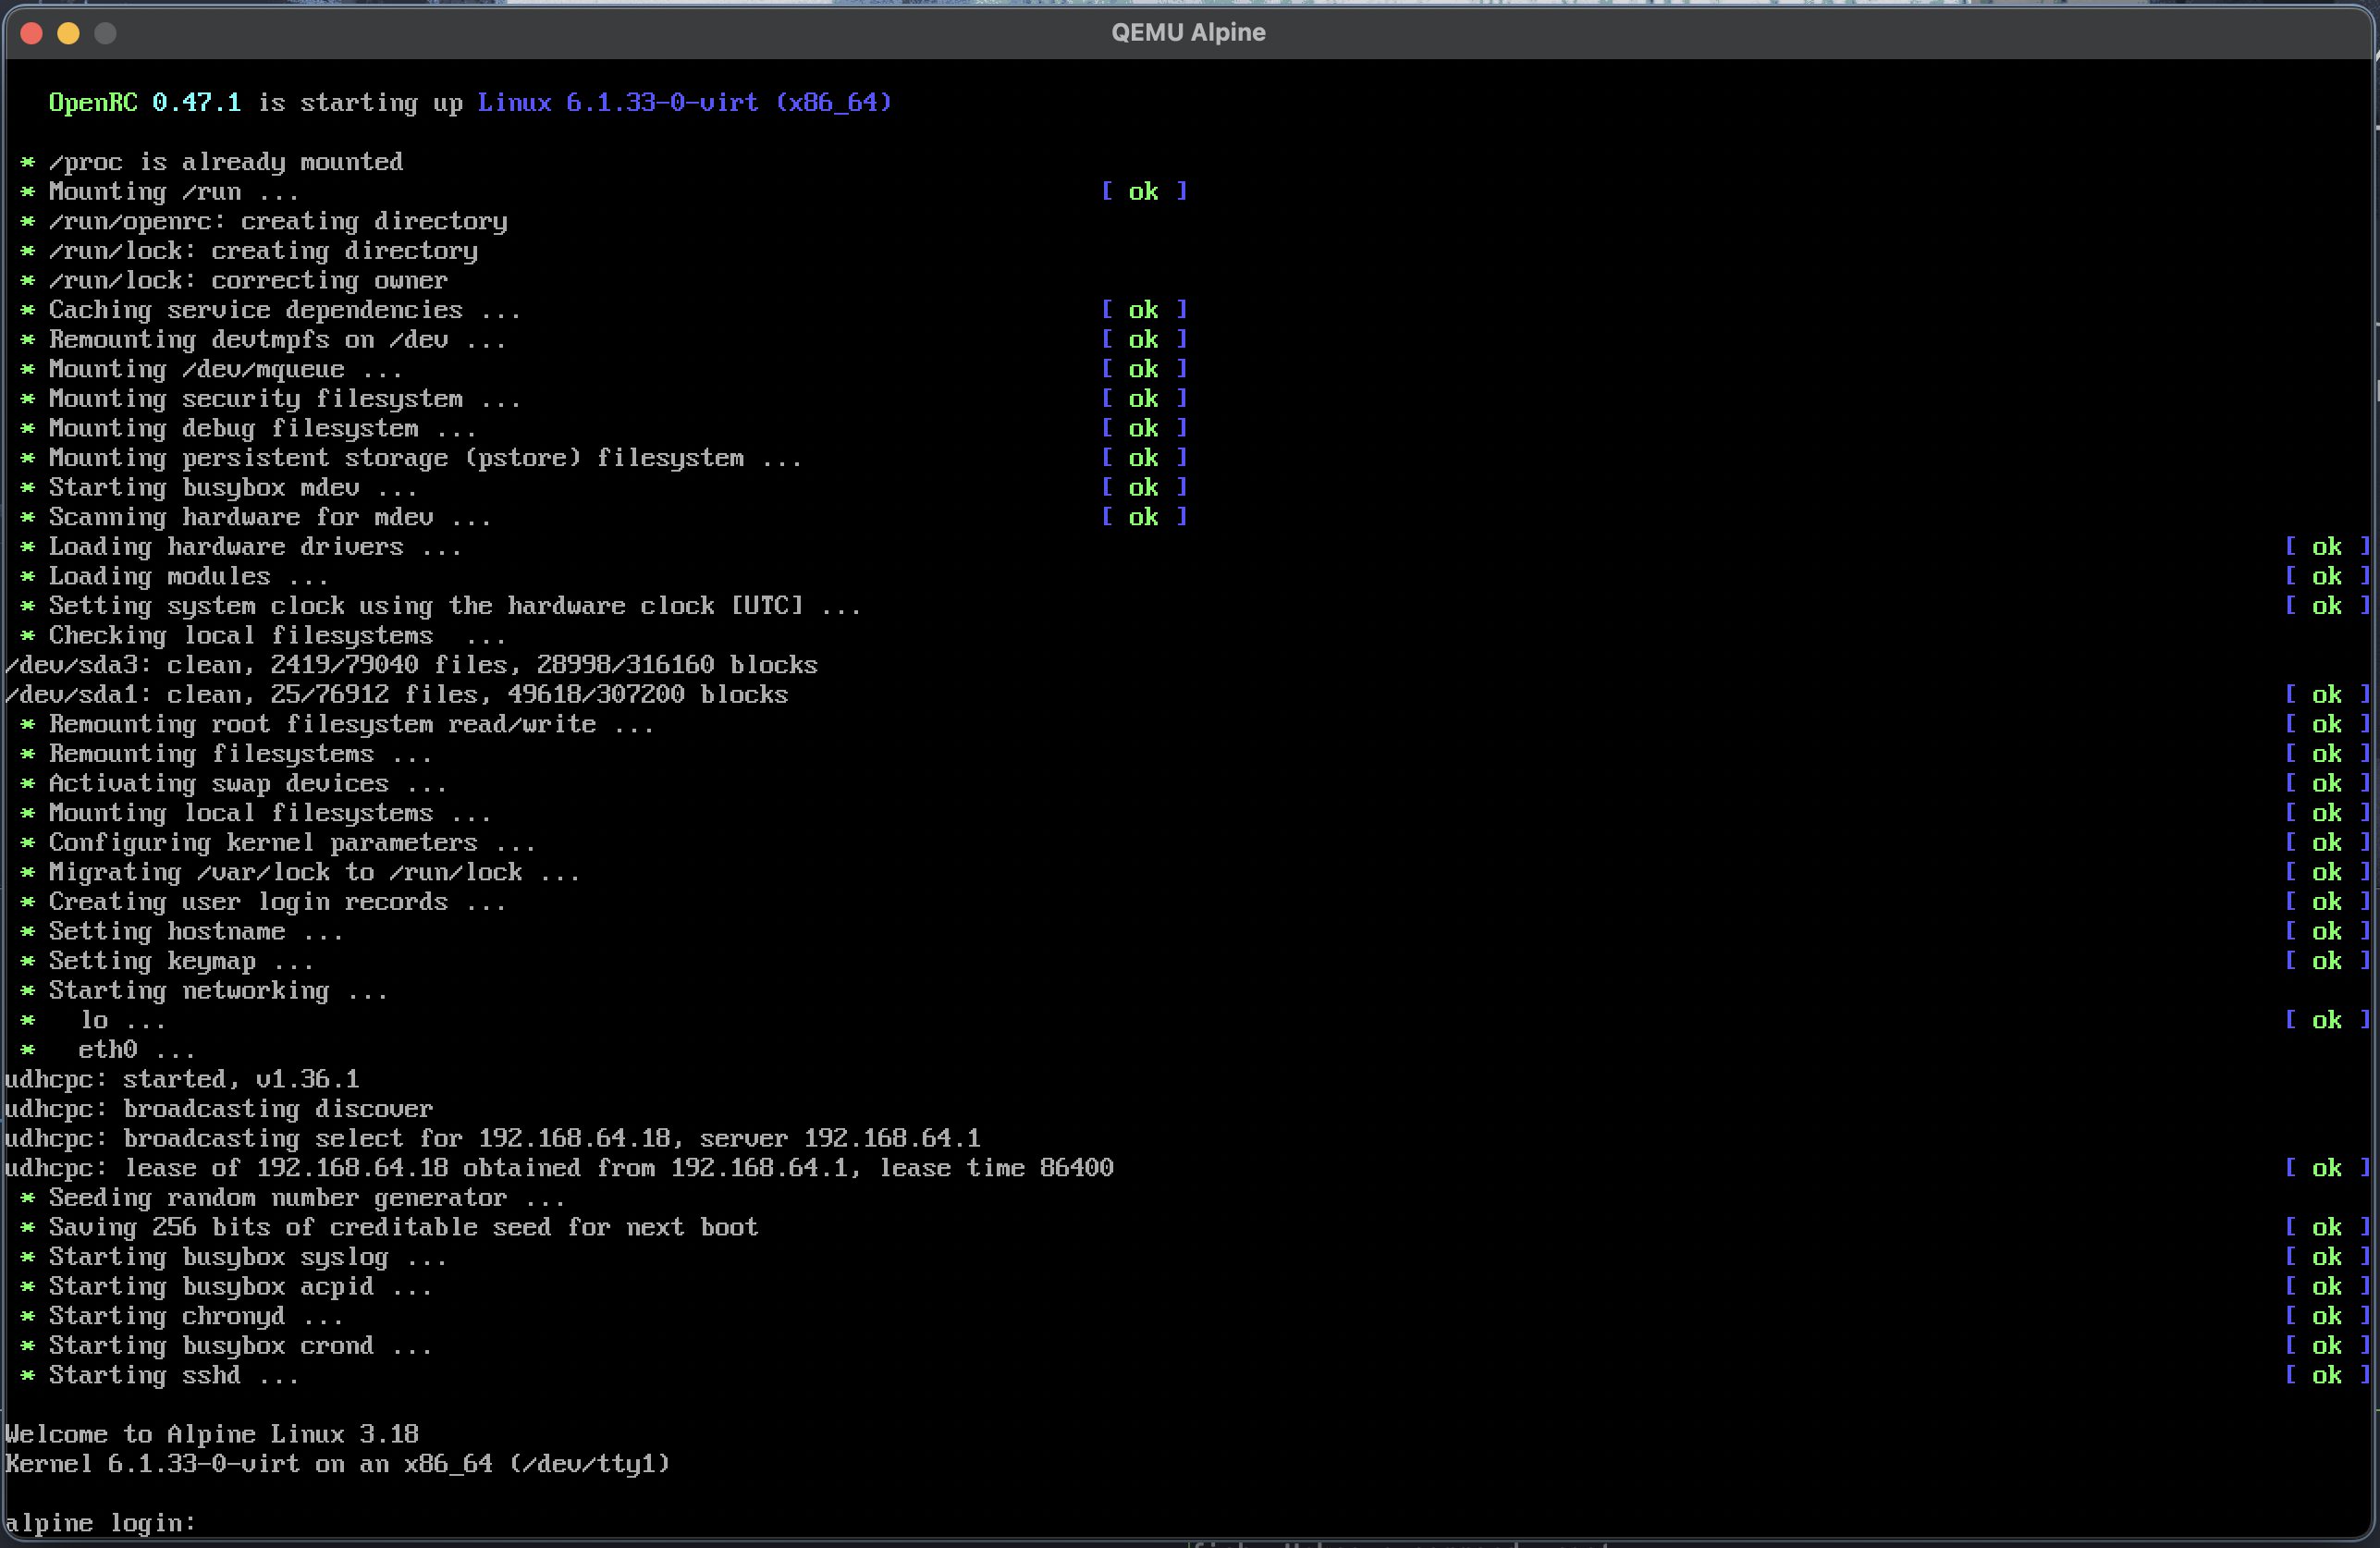
Final steps…
The proof is in the image: running bzip2 gets our image down to a nice comfortable 53MB.
Depending on what you want to do with this image it probably isn’t very useful at this stage. If you want to create your own little CTF VM for example then you probably want a few packages. First I can really recommend the brief but solid documentation of apk, the Alpine package manager, located here https://docs.alpinelinux.org/user-handbook/0.1a/Working/apk.html
So lets give NGINX a whirl:
apk add nginxThis should get you the binaries in a few seconds:

but we still need to get it up and running, so add the startup service:
rc-update add nginx defaultAnd finally start it:
service nginx startYou can grab the IP-address to your VM with:
ip aWhich for me semi-randomly happened to be 192.168.64.18 as seen here:
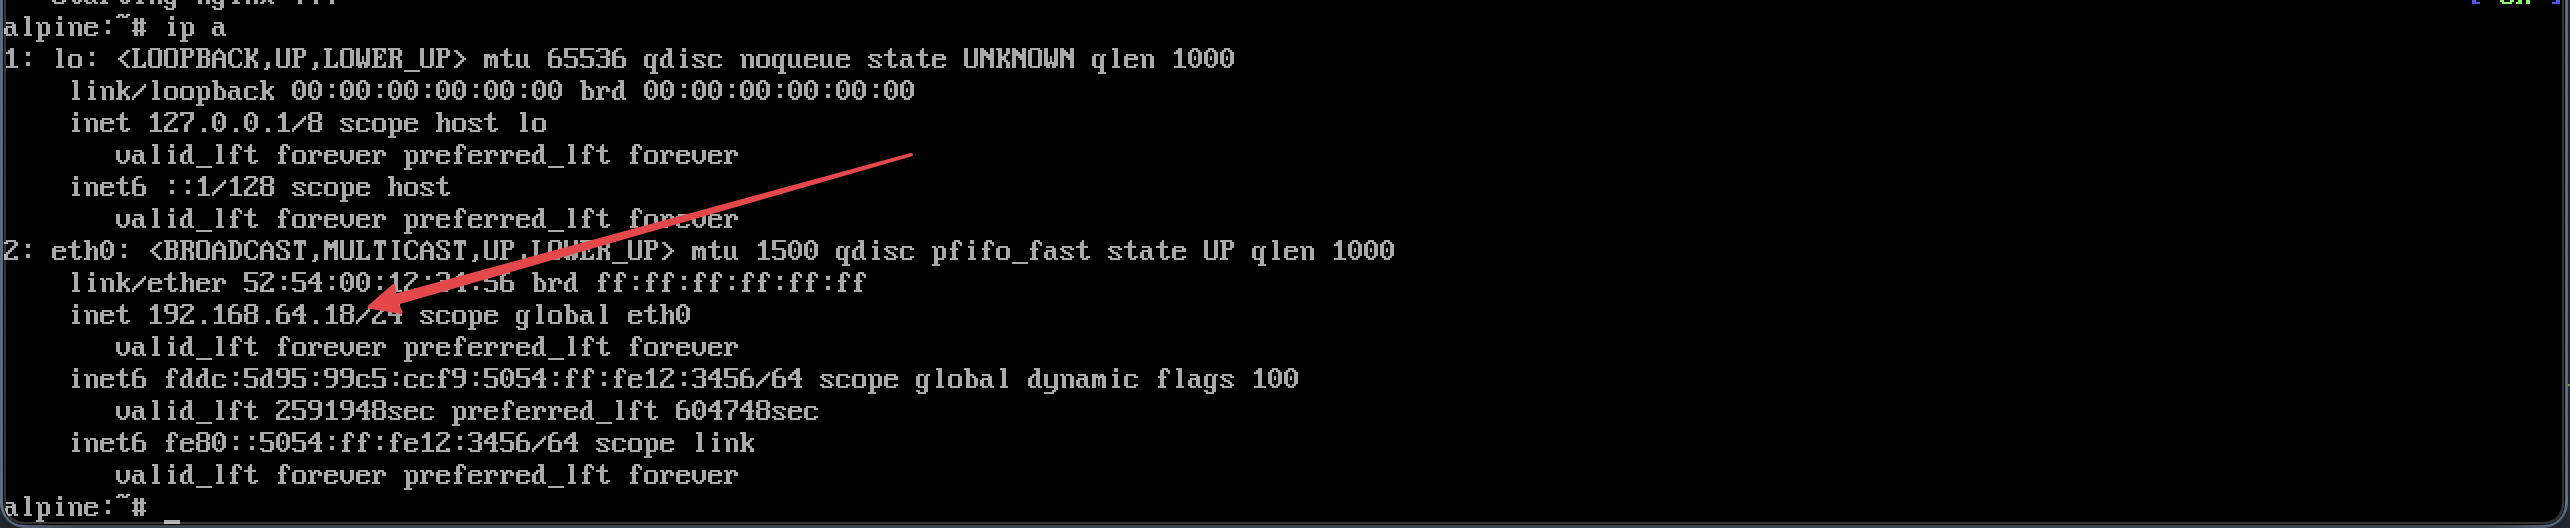
Putting the IP-address into your browser as http://192.168.64.18 will get you the oh-so-impressive:

Obviously NGINX needs some configuration beyond the scope of this note. I’ll leave that up to you.
Conclusion
Adding NGINX bumped the image size up from 53MB to 54MB - not bad. Obviously you’d want even more packages - but if you keep things creative (NGINX, PHP, Sqlite3?) I suspect a useful CTF image could still weigh in at under 60MB.
Thanks for liking and commenting!